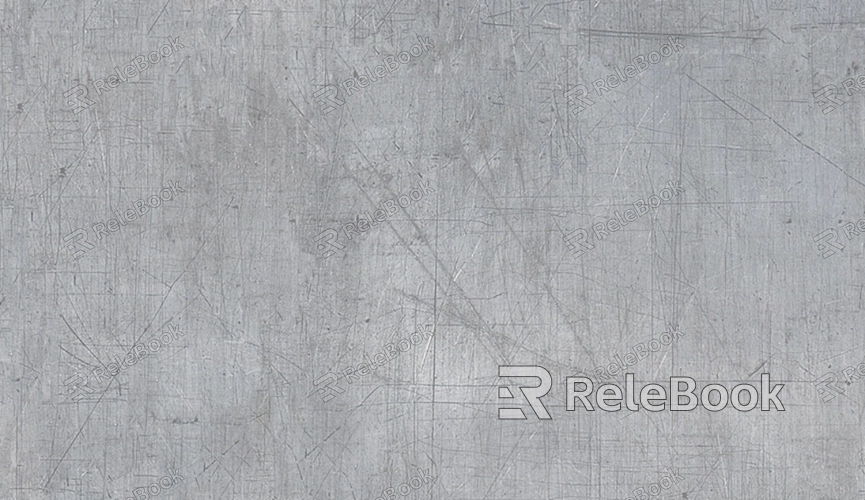
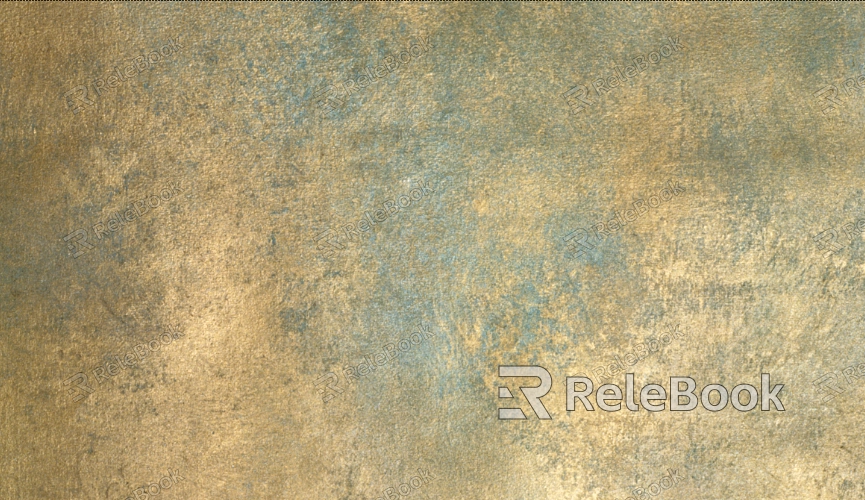
How to Make 3D Metallic Textures in Photoshop
Metallic textures play a crucial role in creating realistic surfaces for objects such as mechanical parts, architectural elements, and props. High-quality textures not only enhance the realism of models but also communicate material characteristics and intricate details effectively. Photoshop, a versatile image editing tool, enables designers to craft a wide range of metallic textures efficiently, seamlessly integrating with 3D software like Blender, Maya, and Substance Painter. This guide walks you through the process of creating refined 3D metallic textures in Photoshop to elevate the visual impact of your projects.

1. Preparation
Laying the groundwork is essential before diving into texture creation. Ensuring your tools and references are ready will set you up for success.
Gather High-Quality References: Use high-resolution images of metal surfaces, such as brushed metal, stainless steel, or rusted textures, to capture authentic details.
Select Suitable Photoshop Tools: Equip yourself with custom brushes, pattern fills, and filters. Consider metallic attributes like reflections, highlights, and roughness to guide your workflow.
Set Up the Canvas: Start with a 2K or 4K resolution canvas, providing ample detail for later use in various rendering environments.
2. Building the Base Texture
The base layer establishes the core characteristics of the metallic surface, including its color and sheen.
Define the Base Color: Use the Fill Tool to apply a neutral metallic tone, such as gray or silver, as the foundation for your texture.
Add Highlights and Gradients: Apply gradients with the Gradient Tool to mimic light reflections on the metal surface. Radial or linear gradients work well to create a sense of depth.
Enhance with Filters: Use “Filter > Noise” to introduce fine grain, then soften it with Gaussian Blur to refine the texture’s realism.
3. Adding Surface Details
Surface details like scratches, rust, and fingerprints bring the metallic texture to life by emphasizing its realism.
Incorporate Scratches and Embossed Effects: Draw scratches or bumps using custom brushes. Create high-contrast black-and-white patterns and apply “Filter > Emboss” to simulate depth.
Apply Rust Patterns: Layer rust patterns using Photoshop’s texture tools. Blend them naturally into the metallic base using blending modes like “Overlay” or “Soft Light.”
Introduce Random Elements: Avoid overly uniform textures by generating randomness with “Filter > Clouds.” Adjust transparency and detail distribution using layer masks.

4. Generating Normal Maps
Normal maps are vital for showcasing surface details during 3D rendering.
Convert to Grayscale: Transform your completed metallic texture into a grayscale image to prepare it for normal map generation.
Leverage Photoshop Plugins: Use tools like NVIDIA’s Normal Map Filter to create a normal map from the grayscale texture, tweaking depth settings as needed.
Export and Test: Save the normal map and test it in your 3D software to ensure it aligns correctly with your model.
5. Optimizing and Finalizing
Optimizing textures improves rendering performance and ensures consistent results across different environments.
Adjust Texture Resolution: Scale the resolution to match the intended use case, balancing detail with performance requirements, especially for real-time applications like games.
Test Under Various Lighting Conditions: Import the texture into 3D software and experiment with different lighting setups to confirm realistic reflections and shadows.
Export in Compatible Formats: Save the texture in formats such as PNG, TGA, or EXR, depending on the platform. Preserve transparency and high dynamic range data when necessary.
By following these steps, you can create high-quality 3D metallic textures in Photoshop, adding realism and sophistication to your 3D projects. Whether you're a beginner or an experienced designer, these techniques will help you achieve professional results with ease.
If you're looking for high-quality 3D texture resources, SketchUp models, or 3ds Max assets to complement your designs, Relebook offers an extensive library to support your creative journey and help you bring exceptional visuals to life.

